Message from the management
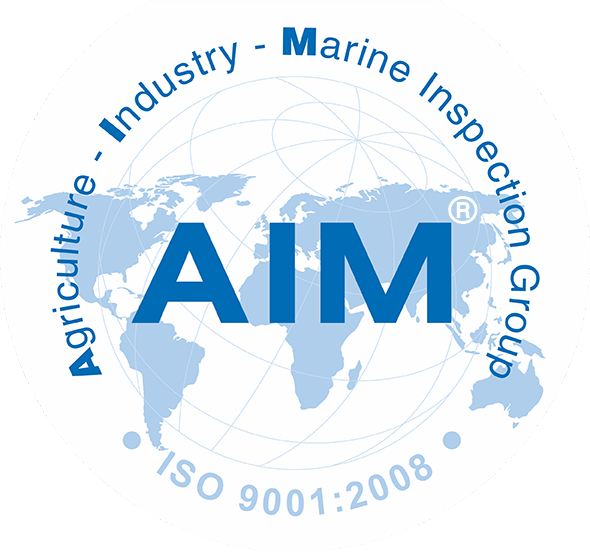
AIM® is Agriculture – Industry – Marine Control Inspection & Survey Group (AIM Control), which one of the world’s leading trade inspection, trade security and certificate companies, operating in close to 100 countries.
Welcome to AIM
AIM Control is Agriculture Industry Marine Control Inspection Group of companies Worldwide to acting globally. (Dun & Bradstreet certified)
AIM Group ® offers
1. Marine survey / Ship inspection / P&I correspondents & Expertise/ Consultancy / Warranty / Specialist management Risk
2. Cargo inspection / Quality control assurance / Tallying & Supervision / Analysis & Testing / Certification
3. Damage survey / Loss adjusting / Claim investigation / Loss prevention / Tallying & Supervision
4. Fabrication Expediting / Vendor welding Inspection – Electrical & Mechanical inspectors - NDT
5. Diving works and Underwater ship hull cleaning & polishing / IWS
6. Global Third Party Inspection, 3rd Maritime Professional Expert.
AIM Control is the company of inspector, surveyor, controller, tally clerk, certificate, sample, test, investigator, approval and divers leading operations in 100 countries.
Founded in Vietnam in 1993, the company launched the original mission to provide professional third party inspection services in Vietnam, the Far East, Asia & Global.
With the direction of business development and innovation, and harmony in the economic development process, AIM Control has become the service provider Inspection and Certification growing worldwide.
AIM Control works with the motto "Customer destiny is our destiny" and every service we provide is done...
Criteria:
Exactly - Fast - Professional - Objectivity
_crop_marine-cargo-surveyors.png)

Cargo inspection benefit

Cargo inspect

Claim investigation

Charterer survey

UWHC and diving inspection

Maritime ship services

Marine Cargo survey and Consultancy

Government Services and International Trade Inspection

Quality Assurance and Quality Control Inspection Services

Petroleum industry inspection and Liquid product survey

Tallying and Surveying services

Commodity inspection

Expert Witness

Marine warranty survey surveyor

Vendor Inspection

| Hotline : | +84888889879 |
| Cell : | +84 903 615 612 |
| Email : | aim@aimcontrolgroup.com |
| Skype : |